HEAD SIZE | 6' HANDLE | 7' HANDLE |
|---|---|---|
24" | CLPS-246-TB | CLPS-247-TB |
30" | CLPS-306-TB | CLPS-307-TB |
36" | CLPS-366-TB | CLPS-367-TB |
48" | CLPS-486-TB | CLPS-487-TB |
60" | CLPS-606-TB | CLPS-607-TB |
72" | CLPS-726-TB | CLPS-727-TB |
You are here
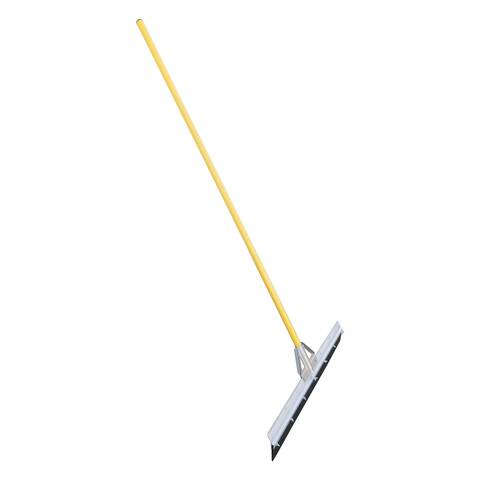
Texas Stencil Asphalt Sealcoat Squeegee Push or Pull - 24, 36 or 48 inch
Ordering by Phone? Make sure you have the right product. Check the Product SKU List below.
- Designed to push or pull sealcoat material
- Clamp style head for easy blade replacement
- Multiple sizes available
- Includes aluminum handle
Description
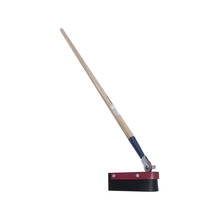
These Sealcoat Applicators come in a variety of sizes including 24", 30", 36", 48", 60" and 72" and are designed to push / pull asphalt sealcoat sealant on the surface.
Made by Texas Stencil, these squeegess include a premium aluminum handle making this one of the lightest sealcoat applicator squeegee's we offer.
The blade is secured to an all aluminum frame with an L-Brac no-hole pinch desgin for easy removal and replacement.
Note: Some Assembly Required. You will receive the aluminum handle, rubber blade which is already mounted to the aluminum frame, top and bottom braces and brace bolts for a total of 4 separate pieces and 5 bolts with nylon locknuts.
There aren't any instructions for assembly, but it's really not too hard to figure out. Just in case, you can come back here for some tips on assembly in the instructions area below.
Product SKU List
These are the SKU numbers to give if you plan to buy over the phone. To see pricing changes (if any), click on the "drop down" arrow in the Add to Cart section above.
Features
Braced Kit Design
Push/Pull design
Lightweight Aluminum Handle
Replaceable Neoprene Blades
Specifications
Handle | 72" Aluminum |
Usage | Push / Pull |
Type | Straight |
Blade Support | Aluminum L-Brac brace kit ("No Bolt" Design) |
Available Lengths | 24" | 30" | 36" | 48" | 60" | 72" |
Material | Neoprene |
Color | Black |
Replaceable | Yes |
Instructions Overview
Tools Required: 1 x 11mm or 7/16" socket and 1 x 11mm or 7/16" box open end or socket.
Assembly Instructions
- Simply slide the blade frame into the notch of the handle, aligning it with the center hole on the frame.
- Align the top and bottom braces with the holes on the frame
- Insert the 4 short bolts into the outer brace holes and place the locknuts on the back side, going finger tight
- Place the long bolt through the brace, handle and frame and finger tighten the locknut
- Tighten all bolts evenly, until slightly tighter than snug.
Squeegee Replacement Instructions
- Loosen all the wingnuts. (Do not remove the wingnuts from the bolt)
- Remove the old
squeege - Install the new squeegee
- Tighten all the wingnuts.
A simple tip for replacing the squeegee is to set the frame on its side, so the squeegee frame is going up and down instead of lying on the ground. This keeps the squeegee straight when pushing it into the L-
Replacement Parts & Accessories
The following are a list of replacement or add-on parts for this product.


